Intex Pool Installation Guide: A Comprehensive Overview (Updated 04/28/2026)
This guide‚ updated today‚ April 28‚ 2026‚ offers detailed instructions for a successful Intex pool setup‚ covering everything from ground preparation to long-term care.
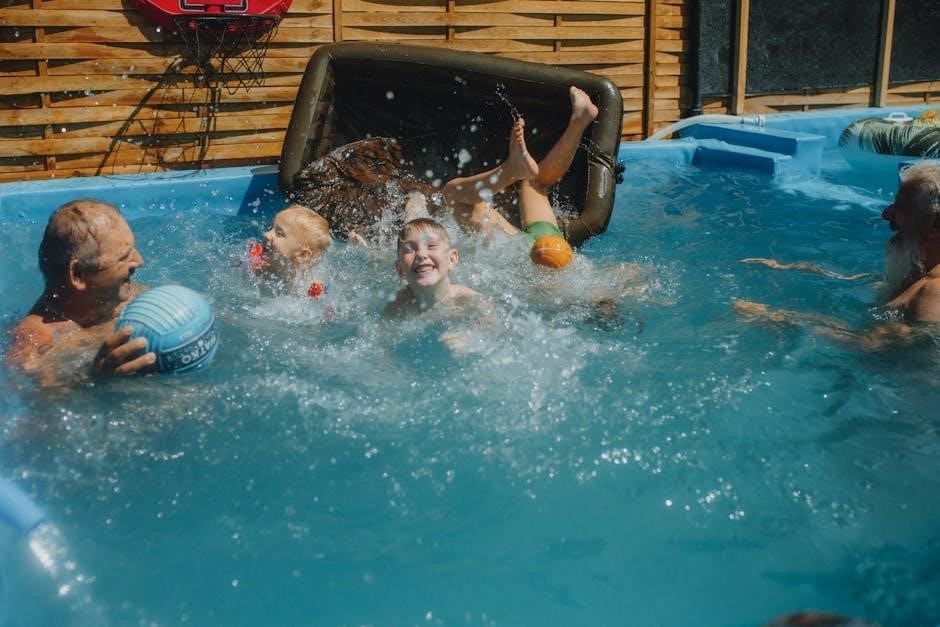
Intex pools represent an accessible entry point into backyard recreation‚ offering a cost-effective alternative to traditional in-ground installations. These pools‚ particularly the metal frame and Ultra XTR frame varieties‚ are renowned for their ease of setup and relatively low maintenance requirements. However‚ a successful installation hinges on careful planning and execution.
Many online resources‚ like Trouble Free Pool‚ demonstrate the process with detailed pictures and advice. A key takeaway is the importance of a level surface; some opt for digging down‚ while others construct a “sandbox” base to overcome elevation changes. Remember to consider protective layers‚ such as foam insulation sheets‚ to safeguard the liner – a tip shared by Reddit users preparing for “hot dad summer”!
Choosing the Right Intex Pool for Your Needs
Selecting the ideal Intex pool requires careful consideration of several factors. Pool size should align with available backyard space and intended usage – family fun‚ exercise‚ or relaxation. Metal frame pools offer affordability and portability‚ while Ultra XTR frames provide enhanced durability and aesthetics.
Consider the pool’s depth; shallower pools are safer for young children. Research different models and read reviews to understand real-world experiences. Don’t underestimate the importance of accessories like filters‚ pumps‚ and covers. Planning ahead ensures a smooth installation process and maximizes enjoyment. Remember‚ a well-chosen pool is the foundation for countless summer memories!
Site Selection: Key Considerations
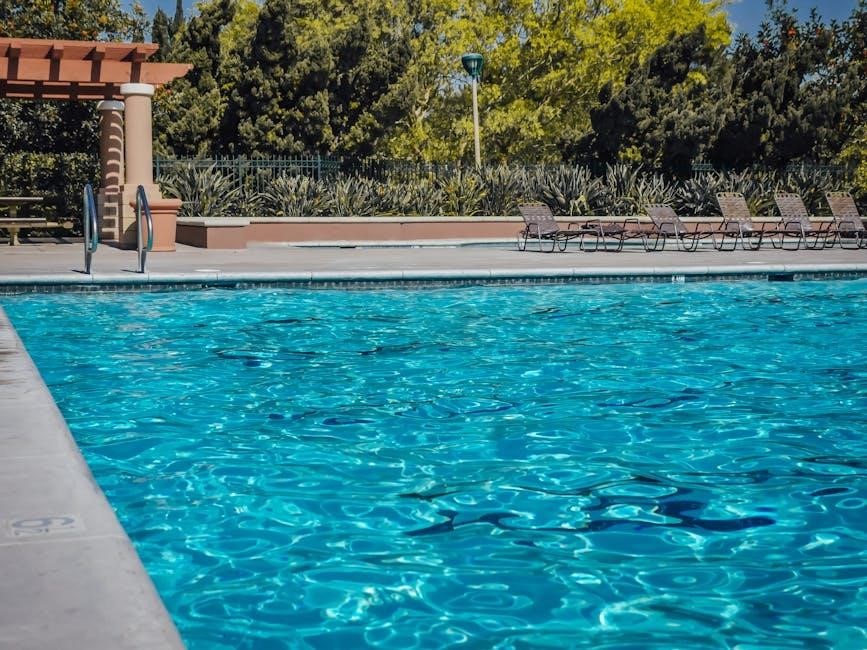
Choosing the right location is paramount for a successful Intex pool installation. Prioritize a flat‚ level surface to ensure even weight distribution and prevent structural stress. Avoid areas with significant slopes or uneven terrain‚ as these require extensive ground preparation. Consider proximity to utilities – water access for filling and electricity for the pump are essential.
Evaluate sunlight exposure; ample sunshine warms the water naturally‚ but some shade can offer relief during peak hours. Check for underground obstructions like pipes or cables before digging. Ensure the chosen site allows for safe access for maintenance and enjoyment. Careful site selection minimizes installation challenges and maximizes pool longevity.
Level Ground Requirements
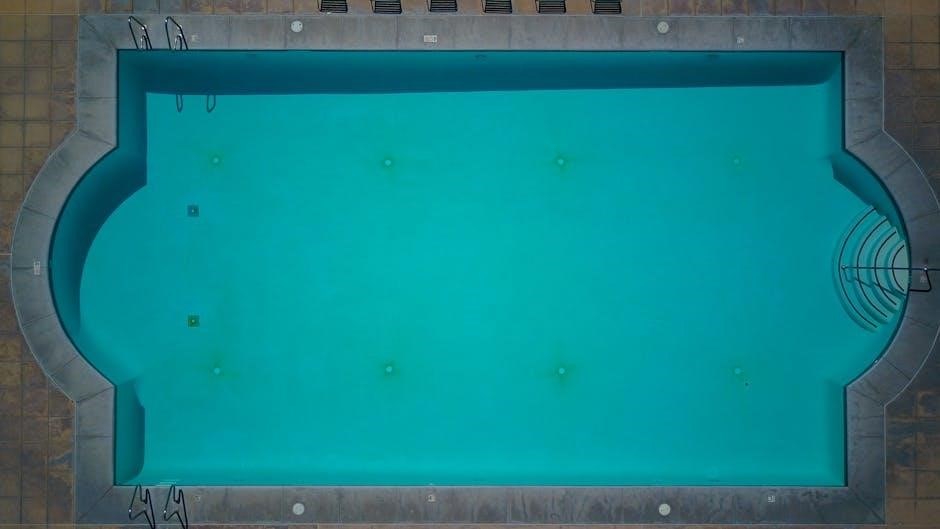
Achieving a perfectly level base is critical for Intex pool stability and longevity. Even a slight incline can cause uneven water distribution‚ stressing the frame and liner. Most installers recommend digging down to create a level surface‚ though building a “sandbox” base is viable for minor elevation changes – up to 8 inches‚ as demonstrated in successful installations.
Regularly check for levelness during preparation using a long spirit level. A consistently level foundation prevents warping‚ reduces the risk of leaks‚ and ensures the pool maintains its shape. Ignoring this step can lead to costly repairs and a compromised swimming experience.
Sunlight Exposure & Shade
Optimal sunlight exposure is vital for warming your Intex pool water naturally‚ reducing reliance on pumps and potentially lowering energy costs. However‚ consider partial shade during peak sun hours to minimize algae growth. Excessive sunlight encourages algae blooms‚ requiring more frequent chemical treatments and cleaning.
Strategically positioning the pool to receive at least 6-8 hours of direct sunlight daily is ideal. Observe the sun’s path throughout the day before finalizing the location. A balance between sun and shade will create a more comfortable swimming environment and simplify pool maintenance.
Proximity to Utilities (Water & Electricity)
Convenient access to water and electricity is crucial for Intex pool installation and ongoing operation. Locate the pool relatively close to a water source for easy filling and maintenance‚ minimizing the length of hoses needed. Equally important is proximity to a grounded electrical outlet to power the filter pump and any other accessories.
Never use extension cords as a permanent solution; a dedicated‚ properly grounded outlet is essential for safety. Consider the distance when planning‚ as longer hose or cord runs can reduce efficiency. Prioritize safety by consulting a qualified electrician for outlet installation if needed.
Essential Tools & Materials
Successful Intex pool installation demands having the right tools and materials readily available. You’ll need a level (long and short)‚ measuring tape‚ shovel‚ and potentially a wheelbarrow for ground preparation. Duct tape is vital for securing foam insulation sheets‚ as recommended for a protective layer.
Essential materials include a ground cloth/tarp‚ 3/4″ to 1″ thick foam insulation sheets (4×8 size)‚ and potentially sand for leveling. The pool kit itself‚ filter‚ pump‚ and hoses are‚ of course‚ fundamental. Don’t forget safety glasses and work gloves for protection during the process!
Preparing the Ground for Installation
Proper ground preparation is crucial for a stable and long-lasting Intex pool. Begin by clearing the area of all debris – rocks‚ sticks‚ roots‚ and any sharp objects that could damage the liner. Next‚ address leveling; this is often the most challenging step. You can choose between digging down to create a level surface or building a base‚ like a sandbox‚ to overcome elevation differences.
Digging down offers stability but is labor-intensive. Alternatively‚ a sandbox base‚ constructed with wood and filled with sand‚ can effectively level uneven ground‚ as demonstrated by successful installations overcoming an 8-inch drop.
Clearing the Area of Debris
Thorough debris removal is the first essential step in preparing your Intex pool site. Carefully inspect the chosen location for any objects that could compromise the pool liner’s integrity. This includes removing rocks‚ sticks‚ stones‚ roots‚ and any other sharp items present on or just below the surface. Even small pebbles can cause punctures‚ leading to leaks and costly repairs.
A meticulous sweep of the area is vital. Don’t underestimate the importance of removing hidden debris beneath grass or loose soil. A clean base protects the liner and ensures a smooth‚ comfortable pool floor for years to come.
Leveling the Ground: Digging vs. Building a Base
Achieving a perfectly level surface is crucial for Intex pool installation‚ but how you get there depends on your yard’s existing topography. Two primary methods exist: digging down to create a level area or constructing a raised base. Digging offers inherent stability‚ but requires significant effort and may not be suitable for all soil types or landscapes.
Building a base‚ like a “sandbox”‚ is ideal for uneven ground‚ minimizing excavation. This involves creating a level platform using materials like sand and wood‚ as demonstrated by successful installations overcoming an 8-inch elevation drop. Carefully consider the pros and cons of each approach before proceeding.
Digging Down Method – Advantages & Disadvantages
The digging down method for leveling presents notable advantages‚ primarily enhanced pool stability due to direct ground contact. This approach minimizes the risk of settling or shifting over time‚ offering a more secure foundation. However‚ it’s a labor-intensive process‚ requiring substantial excavation and potentially dealing with challenging soil conditions.
Disadvantages include the disruption to your yard and the possibility of encountering underground utilities. Proper planning and careful execution are essential. While many recommend this method‚ assess your physical capabilities and local landscape before committing to this significant undertaking.
Sandbox Base Construction (for uneven ground)
For yards with significant elevation changes‚ constructing a sandbox base offers a viable alternative to extensive digging. This involves creating a level platform using compacted fill material‚ effectively building up the low areas to match the highest point. A successful build‚ like one overcoming an 8-inch drop‚ requires meticulous leveling throughout the process.
This method is less physically demanding than digging‚ but demands careful material selection and compaction. Ensure the base is robust enough to support the pool’s weight and water volume. Properly executed‚ a sandbox base can provide a stable and long-lasting foundation for your Intex pool.
Installing the Pool Liner & Protective Layer
Protecting your Intex pool liner is crucial for longevity and preventing punctures. Begin by carefully laying down a durable ground cloth or tarp‚ ensuring it extends beyond the pool’s footprint on all sides. This acts as a barrier against roots‚ rocks‚ and other sharp objects beneath the surface.
Next‚ install a layer of foam insulation sheets – typically 3/4″ to 1″ thick – directly over the tarp. These sheets‚ taped together front and back for a secure seam‚ provide cushioning and thermal insulation‚ enhancing comfort and potentially reducing heat loss. This combination creates a robust protective foundation.
Laying Down the Ground Cloth/Tarp
Properly laying the ground cloth is a foundational step in Intex pool installation‚ safeguarding the liner from potential damage. Select a heavy-duty tarp specifically designed for pool use‚ ensuring it’s larger than the pool’s dimensions – allowing for overlap on all sides. Carefully unfold the tarp‚ smoothing out any wrinkles or creases as you go.
Position the tarp centrally within the prepared area‚ extending it beyond the intended pool perimeter. This extra material will be folded up and secured around the pool frame later‚ providing additional protection. Inspect the tarp for any existing punctures or tears before proceeding; repair or replace if necessary.
Foam Insulation Sheet Installation (3/4″ — 1″ thickness)
Enhance comfort and protection by installing foam insulation sheets before the tarp. Utilizing 3/4″ to 1″ thick‚ 4×8 sheets provides a crucial cushioning layer‚ minimizing potential punctures from small rocks or debris. Overlap the sheets‚ and securely duct tape them together on both the front and back sides to create a seamless‚ continuous surface.
This creates a protective barrier‚ significantly reducing the risk of liner damage and improving underfoot comfort. Ensure complete coverage of the entire pool base area; The taped seams should be robust‚ preventing shifting and maintaining a consistent‚ even surface for the tarp and ultimately‚ the pool liner.
Assembling the Pool Frame
Begin by carefully unpacking all frame components and verifying that all parts are present according to the manufacturer’s checklist. Connect the frame pieces methodically‚ following the Intex instruction manual precisely. Ensure each connection is secure and properly locked into place before proceeding to the next section of the frame;
Prioritize stability and squareness throughout the assembly process. Regularly check that the frame is forming a perfect rectangle or circle‚ depending on your pool’s shape. A slightly off-kilter frame can lead to uneven liner distribution and potential structural issues later on. Double-check all connections for tightness.
Connecting the Frame Pieces
Start with the base rails‚ interlocking them end-to-end to form the perimeter of your pool’s foundation. Ensure a snug fit at each joint‚ applying gentle pressure until you hear a click‚ signifying a secure connection. Next‚ attach the uprights to the base rails‚ utilizing the provided pins and clips. Verify each upright is firmly seated and perpendicular to the base.
Continue building upwards‚ connecting the top rails to the uprights. Again‚ prioritize a secure connection at each point. As you progress‚ periodically step back to assess the overall frame’s shape‚ making minor adjustments as needed to maintain squareness. A well-connected frame is crucial for long-term stability.
Ensuring Frame Stability & Squareness
Achieving a perfectly square frame is paramount for proper liner installation and preventing undue stress on the structure. Utilize a carpenter’s square or the 3-4-5 triangle method to verify each corner is a true 90-degree angle. If adjustments are needed‚ gently nudge the frame until squareness is achieved.
Once square‚ double-check all connections – base rails‚ uprights‚ and top rails – ensuring pins and clips are securely fastened. A wobbly frame indicates loose connections. Periodically inspect the frame throughout the installation process‚ tightening any loosened components. Stability prevents potential collapses and ensures a safe swimming experience.
Installing the Pool Filter & Pump System
Proper filter and pump installation is crucial for maintaining clean and safe pool water. Carefully follow the manufacturer’s instructions specific to your Intex model. Begin by positioning the filter and pump on a level surface‚ ideally a concrete pad‚ close to a grounded electrical outlet;
Connect the hoses securely‚ ensuring a tight fit to prevent leaks. Prime the pump according to the manual – typically involving filling the pump housing with water – before powering it on. Regularly inspect hose connections and the filter cartridge for any signs of wear or damage‚ replacing them as needed for optimal performance.
Filling the Pool with Water
Begin filling your Intex pool slowly and carefully‚ constantly monitoring the liner placement. As the water level rises‚ gently smooth out any wrinkles or folds that appear in the liner. Avoid forceful stretching‚ as this could damage the material. A partially filled pool allows for easier adjustments to the liner before it’s fully weighted down.
Continue filling gradually‚ periodically checking the pool frame for stability and ensuring it remains square. Stop filling if you notice significant liner issues or frame distortion. Addressing these problems early prevents more substantial complications later in the process‚ ensuring a smooth and successful setup.
Monitoring Liner Placement During Filling
As the pool fills‚ diligent liner monitoring is crucial. Watch closely for wrinkles and folds forming‚ gently smoothing them outwards with your hands or a soft brush. Avoid pulling or stretching the liner aggressively‚ as this can lead to tears or damage. The weight of the water will naturally help settle the liner‚ but proactive adjustments are key.
Pay particular attention to corners and the bottom of the pool‚ where wrinkles tend to accumulate. Slow‚ steady filling allows for easier correction of these issues. Addressing liner placement during filling prevents permanent creases and ensures a visually appealing and structurally sound pool.
Water Chemistry Basics
Maintaining proper water chemistry is paramount for a safe and enjoyable swimming experience. Key parameters include pH‚ alkalinity‚ and sanitizer levels (chlorine or bromine). Regularly test your pool water using a reliable test kit or strips – ideally‚ at least twice weekly.
pH should be maintained between 7.2 and 7.8 to optimize sanitizer effectiveness and prevent corrosion or scaling. Alkalinity acts as a pH buffer‚ keeping it stable; aim for 80-120 ppm. Sanitizer eliminates bacteria and algae‚ ensuring water clarity and hygiene. Consistent monitoring and adjustment are vital for a healthy pool environment.
Pool Maintenance & Cleaning
Regular pool maintenance is crucial for longevity and enjoyment. Skim the surface daily to remove leaves and debris. Vacuum the pool floor at least once a week to eliminate settled dirt and algae. Clean the filter regularly‚ following the manufacturer’s instructions – backwashing for sand filters‚ cleaning cartridges for cartridge filters.
Monitor water chemistry consistently (as detailed previously) and adjust as needed. Periodically brush the pool walls to prevent algae buildup. Consider using a pool cover when not in use to reduce debris accumulation and water evaporation‚ ultimately simplifying your cleaning routine.
Winterizing Your Intex Pool
Proper winterization protects your Intex pool from freezing damage. Begin by thoroughly cleaning the pool and balancing the water chemistry. Lower the water level below the skimmer opening. Disconnect and drain all pump‚ filter‚ and heater components‚ storing them indoors.
Use a winterizing chemical kit to prevent algae growth and scale buildup during the off-season. Cover the pool securely with a winter cover‚ ensuring it’s properly anchored. Regularly check the cover throughout winter for debris accumulation and water pooling‚ removing as needed to prevent damage.
Troubleshooting Common Installation Issues
Liner wrinkles and folds are common during installation. Gently smooth them out as you fill the pool‚ but some may persist. Avoid harsh stretching. Frame instability can occur on uneven ground; ensure a perfectly level base is crucial. If issues arise‚ re-check frame connections and adjust leg supports.

Digging down to level the ground is often recommended‚ but a sandbox base can overcome elevation drops‚ as demonstrated by successful installations. Prioritize a stable‚ level foundation to prevent future problems and maintain pool integrity throughout the swimming season.
Liner Wrinkles & Folds
Liner wrinkles and folds frequently appear during the initial filling process. Don’t panic! Gently attempt to smooth them out with your hands or a soft brush as the water level rises. Avoid aggressively stretching the liner‚ as this could cause tears or damage. Some minor wrinkles are often unavoidable and won’t affect the pool’s functionality.
Consistent monitoring during filling is key. If wrinkles persist‚ try carefully lifting and repositioning sections of the liner. Remember‚ a properly prepared base significantly minimizes wrinkle formation. Patience is vital; allow the liner to settle as the pool fills completely.
Frame Instability
Frame instability often stems from an uneven or inadequately prepared ground base. Double-check that all frame pieces are securely connected‚ and that the pool is perfectly square. Use a level to verify each upright and crossbeam. If the ground isn’t level‚ the frame will bear uneven stress‚ leading to potential bending or collapse.
Reinforce the base if necessary. Adding extra support beneath the legs‚ like concrete pavers or treated lumber‚ can distribute weight more evenly. Regularly inspect the frame for any signs of bending or loosening. Promptly address any issues to prevent further damage and ensure long-term stability.
Safety Considerations
Prioritize safety throughout the entire installation and usage of your Intex pool. Always establish a non-negotiable rule: constant adult supervision is crucial when children are near the pool. Install a secure fence around the pool area‚ meeting local regulations‚ to prevent unsupervised access. Consider a self-closing‚ self-latching gate for added protection.
Educate all family members and visitors about pool safety rules. Learn CPR and keep a first-aid kit readily available. Regularly inspect the pool area for potential hazards‚ like slippery surfaces. Never leave electrical devices near the water. Responsible pool ownership ensures a fun and safe experience for everyone.
Intex Pool Accessories: Enhancing Your Experience
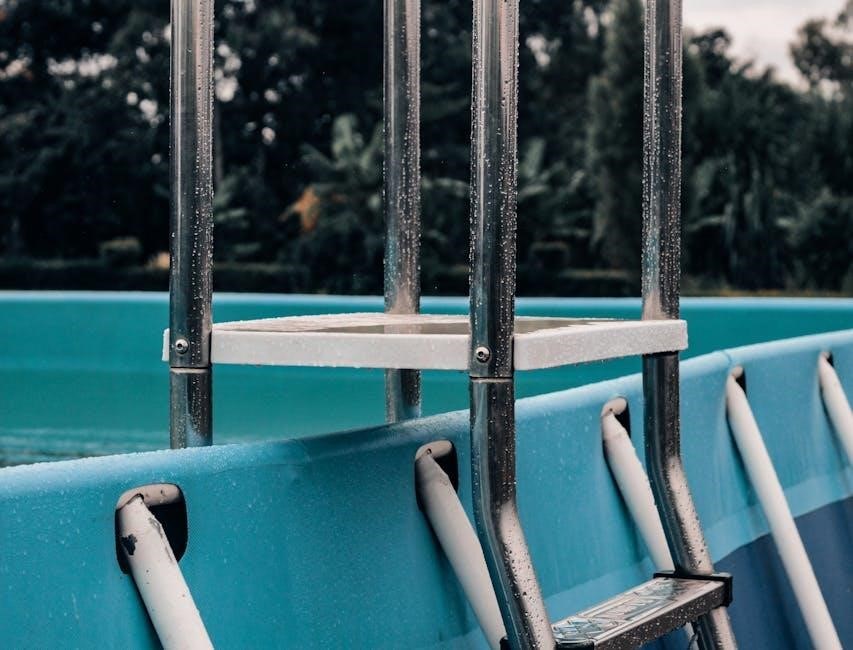
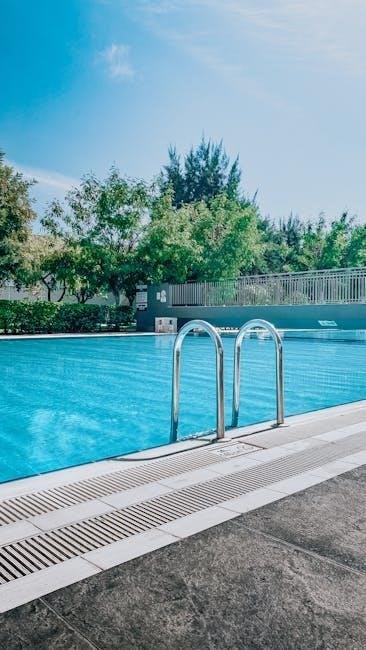
Elevate your Intex pool enjoyment with a range of helpful accessories. A quality pool cover protects against debris and reduces water evaporation‚ saving time and resources. Consider a robust ladder or steps for easy and safe pool entry and exit. A compatible filter system is essential for maintaining pristine water quality‚ alongside a reliable pump.
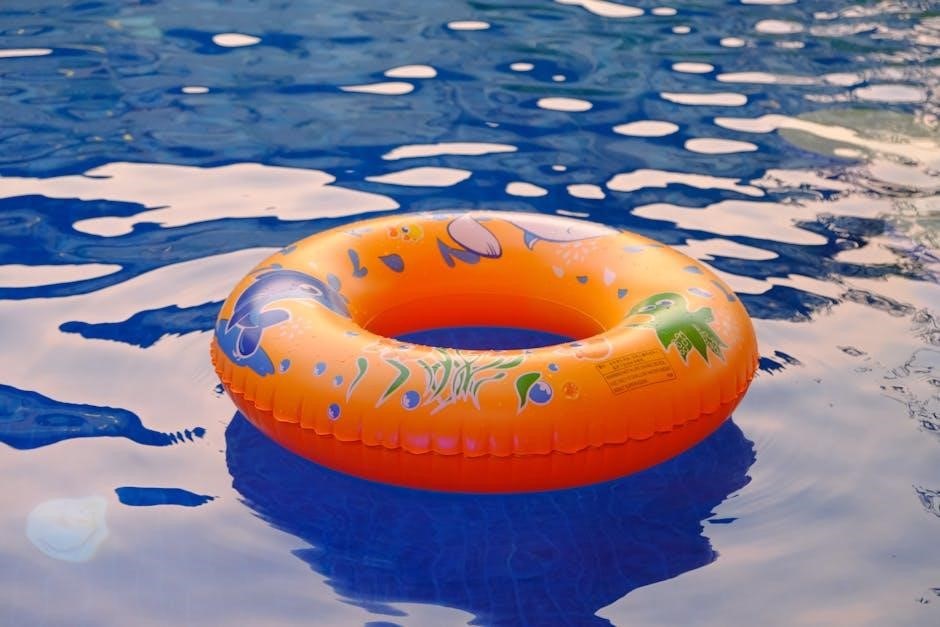
Enhance comfort with floating loungers and inflatable toys. Cleaning accessories‚ like a telescopic pole‚ vacuum head‚ and leaf skimmer‚ simplify maintenance. Don’t forget chemical testing kits and dispensers for balanced water chemistry. These additions transform your Intex pool into a relaxing and enjoyable oasis.
Cost Breakdown: Intex Pool Installation
Intex pool installation costs vary significantly based on size‚ features‚ and site preparation. A basic Intex metal frame pool can range from $300 to $800. Ground preparation‚ including leveling and a sandbox base‚ adds $100 to $500‚ depending on the extent of work needed. Essential accessories like filters‚ pumps‚ and ladders contribute $200 to $400.
Chemicals for water maintenance will cost around $100-$200 annually. Don’t forget potential costs for permits‚ if required by local regulations. Total installation costs typically fall between $600 and $1500‚ but can increase with larger pools or extensive landscaping. Careful planning and budgeting are crucial for a successful installation.
Local Regulations & Permits
Before installing your Intex pool‚ thoroughly research local regulations and permit requirements. Many municipalities have specific rules regarding pool placement‚ fencing‚ and safety features. Ignoring these regulations can lead to fines or forced removal of the pool. Check with your city or county planning department for detailed information.
Regulations often address setbacks from property lines‚ maximum pool depths‚ and electrical safety standards. Some areas may require a permit even for above-ground pools. Ensure your installation complies with all applicable codes to avoid legal issues and ensure a safe environment. Prior research saves potential headaches!
Frequently Asked Questions (FAQs)
Q: Is digging down always necessary? A: Not always! A sandbox base‚ as demonstrated on TroubleFreePool.com‚ can effectively overcome elevation drops‚ offering a viable alternative for uneven ground.
Q: What’s the best ground protection? A: Many recommend 3/4″ to 1″ thick foam insulation sheets‚ duct-taped together‚ placed under the tarp. This provides crucial cushioning and protection against punctures‚ enhancing pool longevity.
Q: How important is leveling? A: Extremely! A level base is critical for frame stability and prevents uneven water distribution. Proper leveling minimizes stress on the liner and frame.
Resources & Further Reading
TroubleFreePool.com is an invaluable resource‚ offering detailed installation guides with accompanying pictures. Their forums‚ like the thread “My First ‘Level’ Pool Install and Deck Build‚” showcase real-world experiences and solutions‚ including sandbox base construction for uneven terrain.
Explore the discussion on “Dimension at the ground for Intex 16’ Ultra-frame pool” on TroubleFreePool for specific leveling considerations. Reddit’s r/daddit often features discussions on Intex pool maintenance and setup‚ highlighting their affordability and ease of care.

These online communities provide peer support and practical advice for a smooth installation process.
Long-Term Pool Care Tips
Maintaining a pristine Intex pool requires consistent effort. Regular water chemistry checks are crucial‚ balancing pH‚ alkalinity‚ and sanitizer levels to prevent algae and ensure swimmer comfort. Consistent cleaning – skimming debris and vacuuming – prevents buildup and maintains water clarity.
Consider a pool cover to reduce evaporation‚ chemical consumption‚ and debris accumulation. The Reddit community emphasizes the durability of these pools with proper care‚ noting successful setups lasting three to four summers.
Proactive maintenance prevents costly repairs and extends the life of your Intex pool‚ ensuring years of enjoyment.
Dealing with Pool Leaks
Discovering a leak in your Intex pool can be stressful‚ but often manageable. First‚ identify the leak’s location – check seams‚ fittings‚ and the liner itself. Small liner punctures can sometimes be patched with a vinyl repair kit‚ readily available online or at pool supply stores.
For frame-related leaks‚ ensure all connections are secure and properly tightened. If the leak persists‚ carefully drain the pool to inspect the liner for significant damage.
Promptly addressing leaks prevents water loss and potential structural issues‚ safeguarding your investment and ensuring continued pool enjoyment.
Upgrading Your Intex Pool Setup
Enhance your Intex pool experience with several upgrades! Consider a more powerful filter pump for improved water circulation and clarity. Saltwater chlorinators offer a gentler‚ more consistent sanitization method compared to traditional chlorine.
Adding a pool heater extends your swimming season‚ allowing for comfortable use even during cooler months. Invest in automated cleaning systems‚ like robotic cleaners‚ to reduce manual maintenance.
Furthermore‚ upgrading lighting with LED options creates a beautiful ambiance and improves visibility. These enhancements elevate your pool from basic to a luxurious backyard oasis.
Congratulations on successfully installing your Intex pool! Now it’s time to reap the rewards of your hard work – countless hours of fun and relaxation in your own backyard. Remember consistent water chemistry monitoring and regular cleaning are vital for a pristine swimming experience.
Don’t hesitate to explore accessories to personalize your pool area and enhance enjoyment. Prioritize safety by establishing clear pool rules and ensuring adequate supervision‚ especially for children.
With proper care‚ your Intex pool will provide years of enjoyment for you‚ your family‚ and friends. Dive in and make some unforgettable summer memories!